The pre-requisites
This guide is best for engineers, architects, creative directors, technically inclined marketers like myself and anyone who knows a thing or two about Github, CDN and Webflow.
- Working knowledge of GitHub
- A free CloudFlare account
- Webflow site where you want to add custom code
- Access to DNS so that required changes can be made to the DN, if you would like to use your domain for hosting the custom code.
Working knowledge of GitHub
This is where your custom code resides and would be your single source of truth. You should know how to use Github and know the following concepts in Github.
- Branches
- Merging and Pull Requests
- How to manage and work with a Github repository through CLI or tools like SourceTree.
A few resources:
A free CloudFlare account
You have the flexibility to choose any CDN that suits your needs, but in our situation, we find that CloudFlare functions well. It has a lower barrier to entry, unlike AWS, which we also use from time to time. CloudFlare provides a production-level CDN starting at $20/month for unlimited sites and goes up based on your traffic and how many requests are made. You can learn more about the pricing here.
The free account can be used for testing the CDN with Webflow but for production sites. Please upgrade. It is not a high cost for the tradeoff.
We will be using Pages within CloudFlare.
What are CloudFlare Pages?
You can use CloudFlare Pages to publish your dynamic front-end applications. These Pages are exceptionally speedy, regularly updated, and can be deployed straight from your Git provider. You can learn more about it here.
Usually, teams use it to deploy the front end, but we will use it to deploy part of our front end, like custom code Javascript and CSS for Webflow.
A Webflow project where you want to add custom code
Duh! You would need the Webflow site, which you are looking to supercharge with additional functionalities. Make sure you have a paid site plan to have a production URL.
Setting up Github for custom code on Webflow
We would be working primarily on two branches:
- master - to deploy code for production URL.
- staging - to deploy code for staging URL.
- development - to develop changes and merge to staging.
The names don’t matter but designate which URL they would be used in.
- Pull a new branch from the ‘staging’ branch and name it ‘development’ or whatever you wish.
- Push the initial code to ‘development’.
- Merge the ‘development’ branch with the ‘staging’ branch.
- Merge the ‘staging’ branch with the ‘master’ branch.
- All the branches should have the same code now.
Sign up for a free CloudFlare account for Global CDN for Webflow custom code deployment.
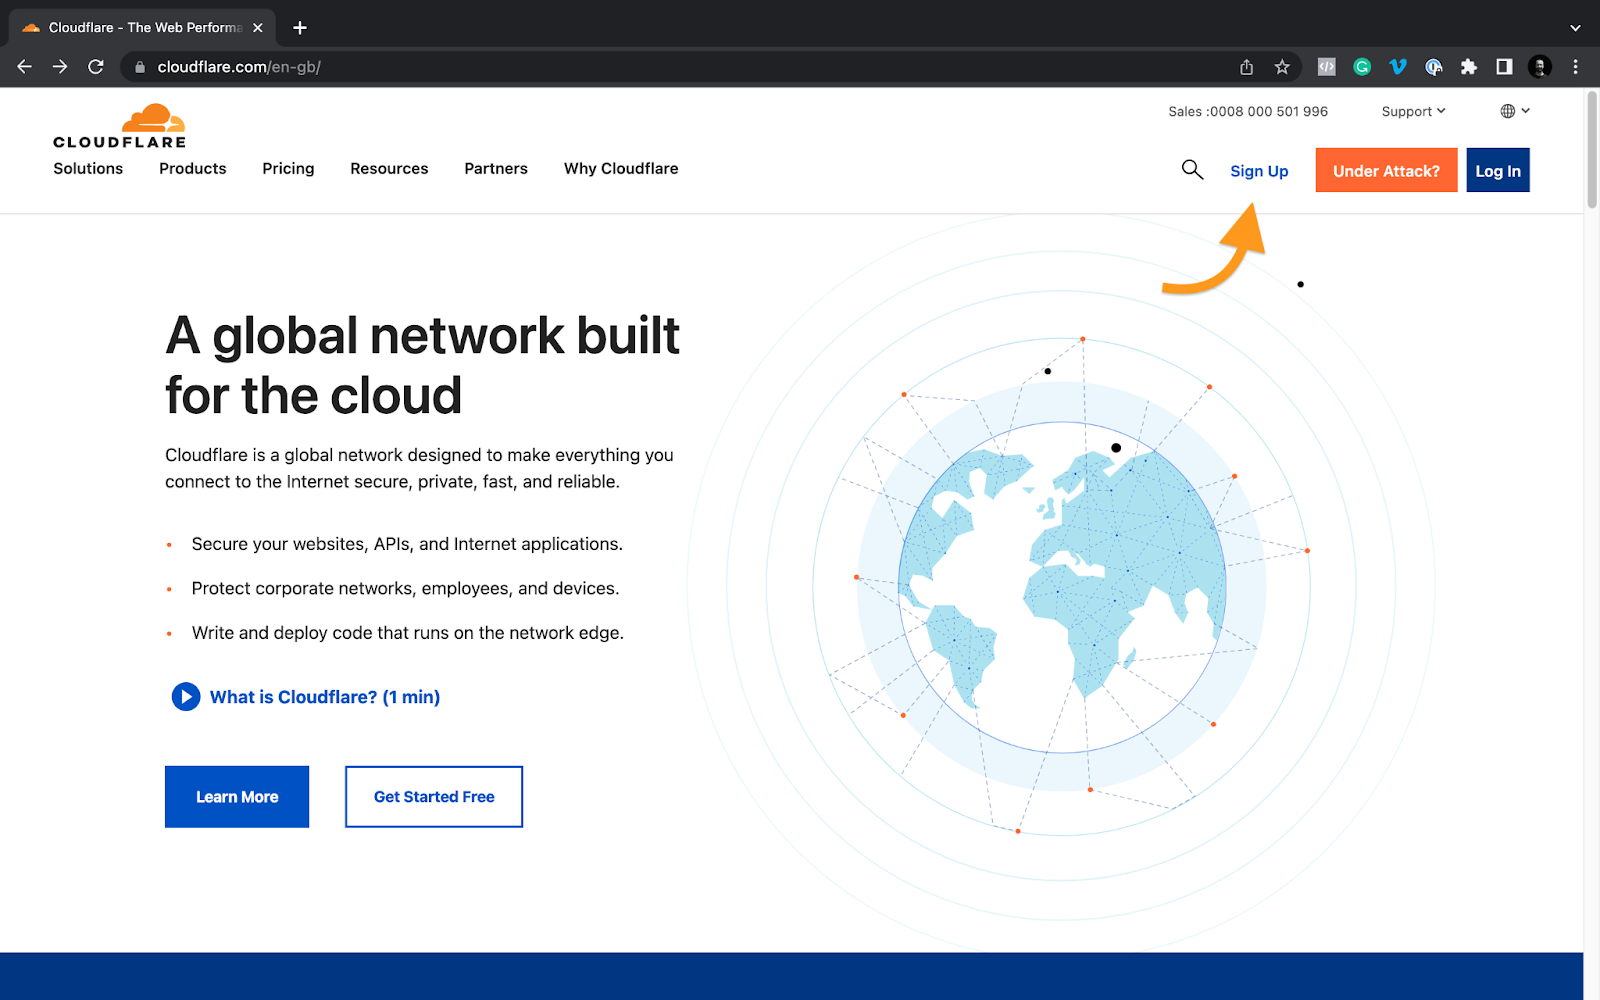
Sign Up for a Free CloudFlare account.
Open Pages in CloudFlare and create a new project for your deployment.
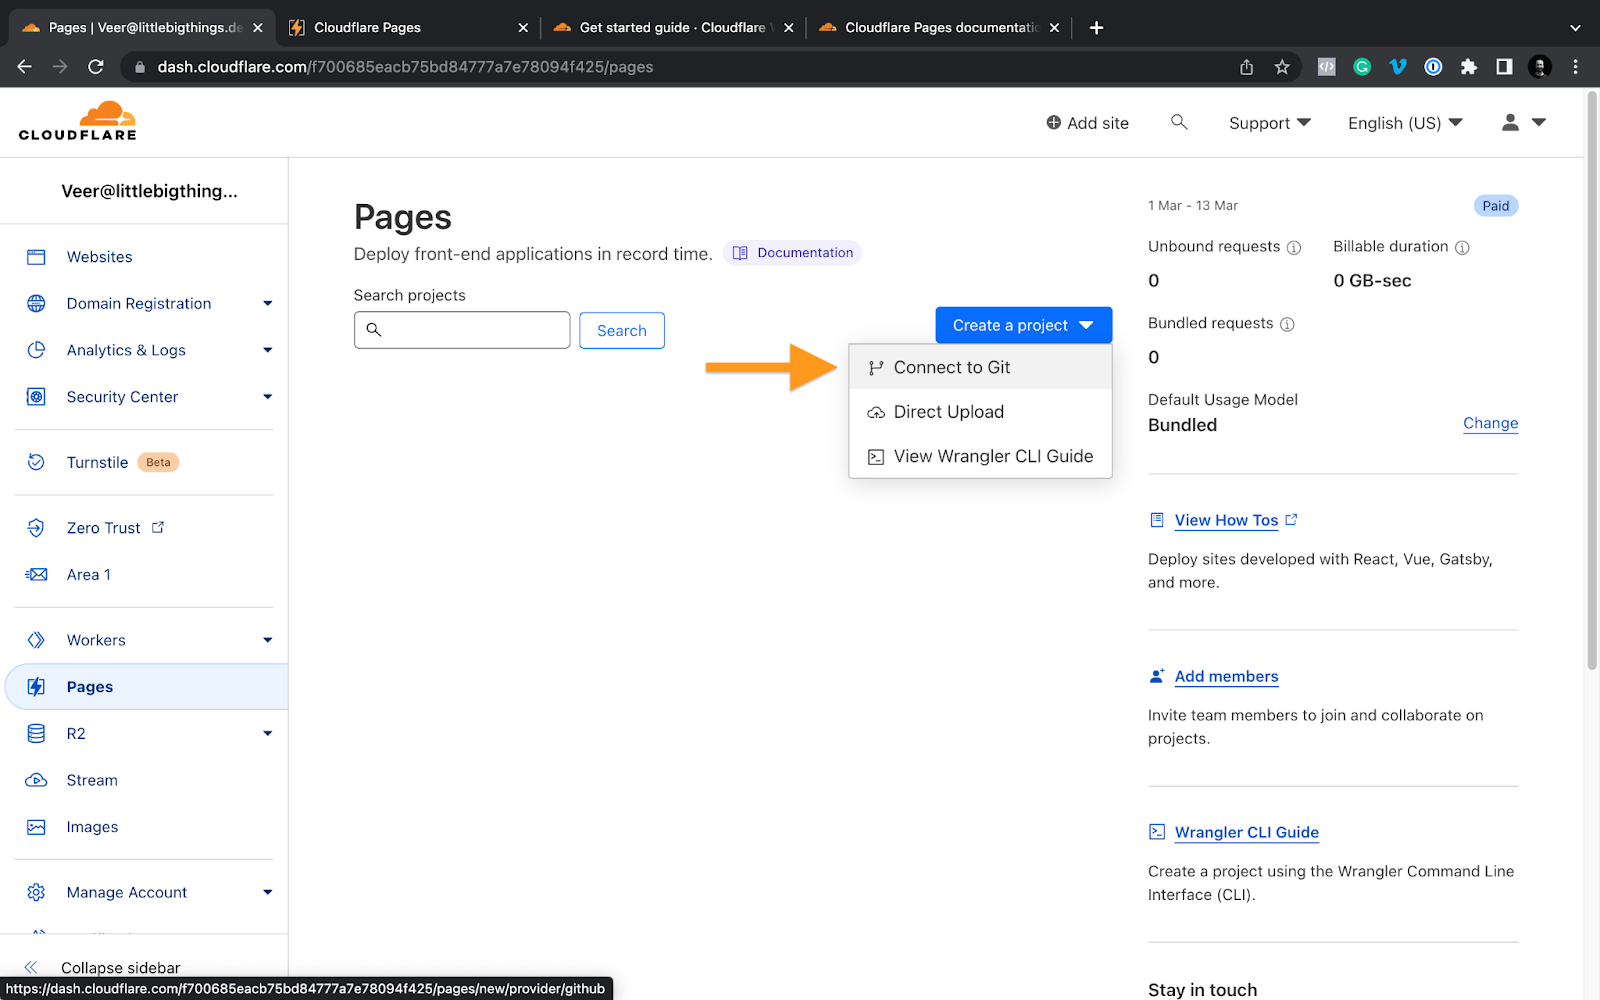
Here you would have to add your GitHub or GitLab repository that would be used to deploy the custom code.
Once you give permission to the repository you created for custom code for your Webflow project, it will ask you to configure the deployment.
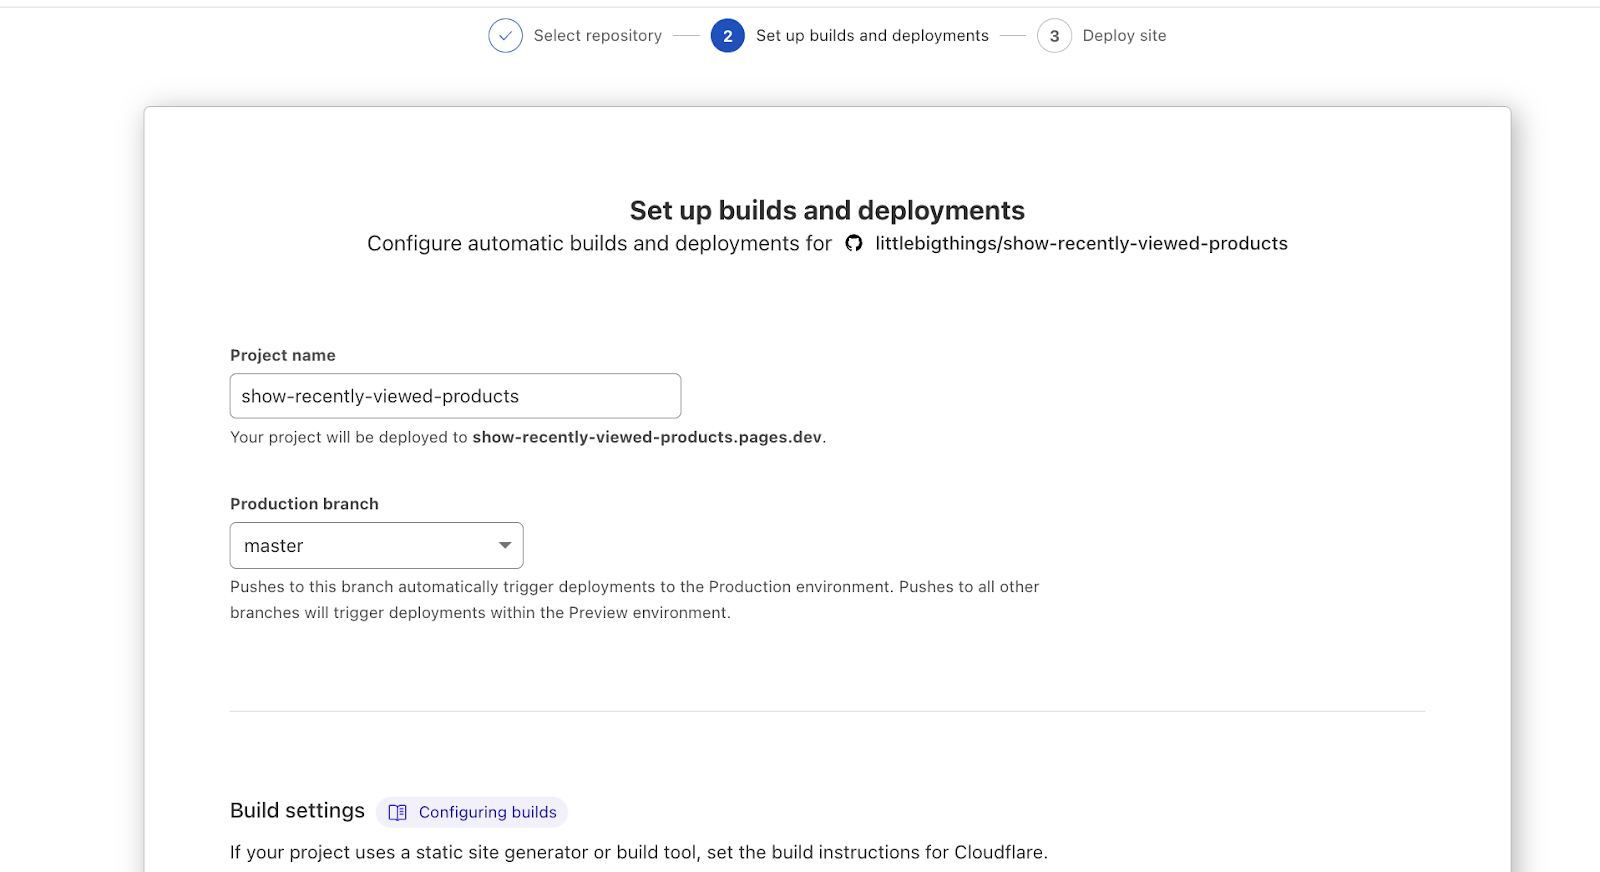
Check the production branch that you will be used for deploying the code.
We are using ‘master.’
For this case, we are not changing any build settings, but you can if you plan for it and want to run more things on your code before deploying, like minification. That would require you to have knowledge of GulpJS or similar toolkits.
Select “Save and Deploy.”

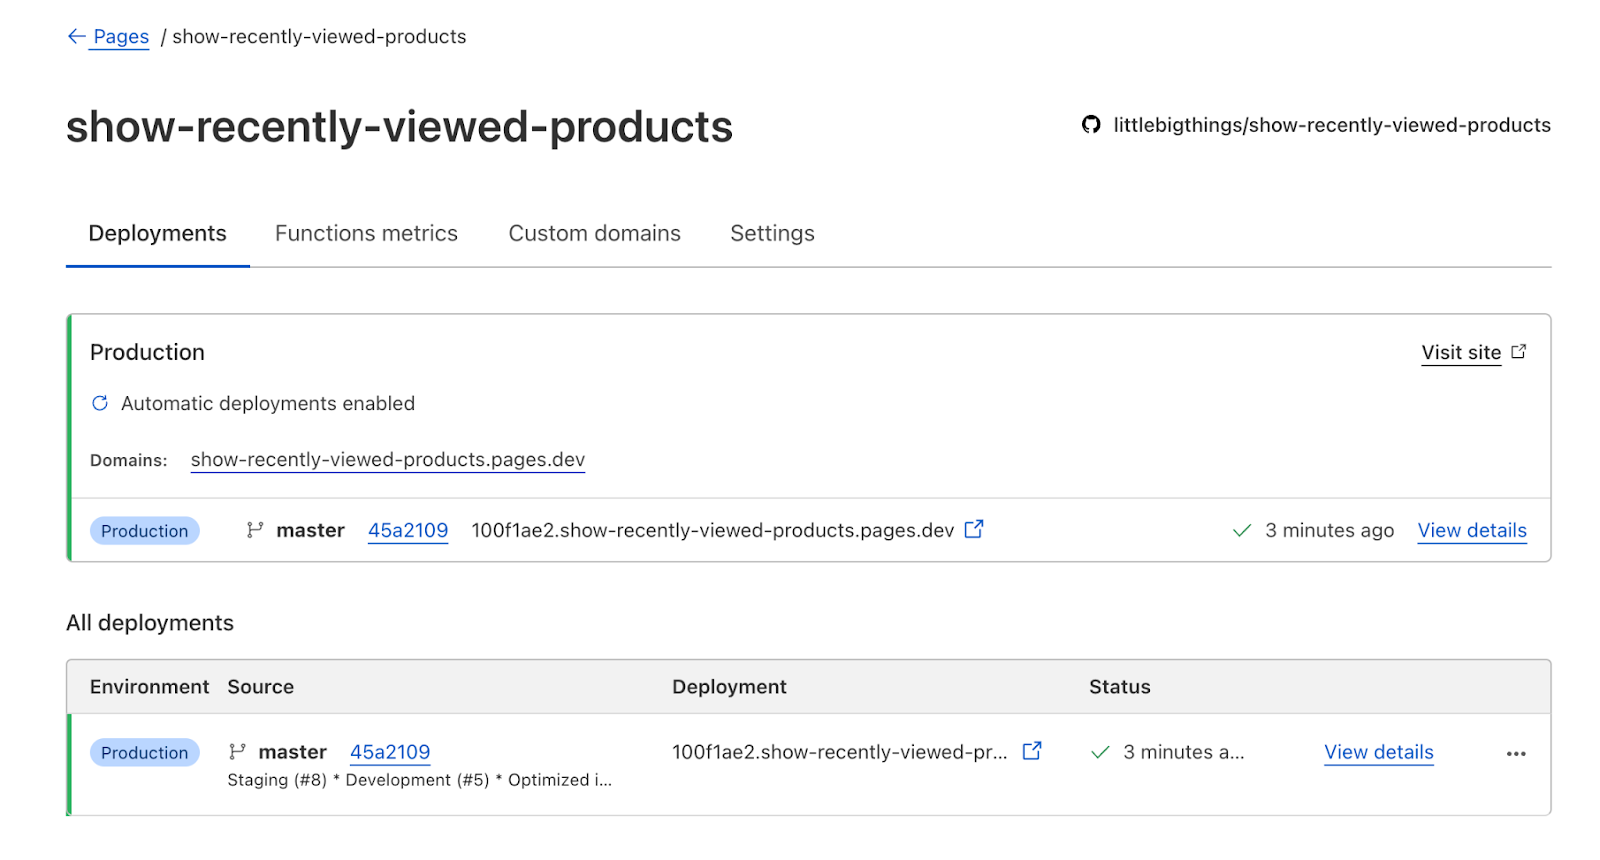
The deployment will provide you with a domain on which your code is deployed. If you click it, your page will appear if you have an ‘index.html’ page in your repo.
If not, it will not show anything. As you can see, it would deploy your ‘master’ branch every time to merge changes to the branch.
You add a custom subdomain for accessing the code if you like as well, under the project setting.
Let’s say we want the staging or any other branch’s code. All you have to do is add the branch name as a subdomain: <branch>.<CloudFlare.domain>
Once the CDN is ready make sure you make changes to the branches to automatically push to CloudFlare.
Here we used our branch staging and master.


For the preview or ‘staging’ URL to work, you would need to commit and new changes so that CloudFlare can push them to the new URL.
The biggest challenge we faced working with custom code on Webflow was to make sure we could test different custom codes on staging URLs and keep production code running without hiccups.
To overcome this use case, we created a boilerplate in-house that would allow us to test different code snippets on staging URLs without affecting the production URLs.
You can find the code gist here:
CODE: https://gist.github.com/littlebigthings-dev/31660792e029ce6661be5350d95a1661.js
All set? Now you have custom code on the CDN and can test different URLs in Webflow with the following code.
Conclusion
In conclusion, utilizing Webflow custom code with this setup can lead to faster deployment and testing of code, resulting in increased reliability. This can lead to higher productivity of the team and ultimately lead to a more efficient and effective development process. By taking advantage of the custom code capabilities within Webflow, teams can create more complex and customized websites, improving the overall user experience.


